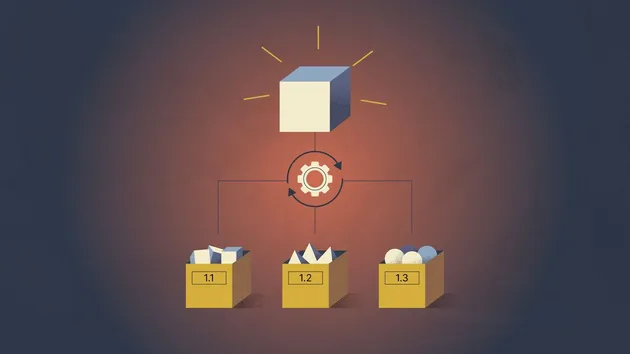
CSV File to Dataset avatar
CSV File to Dataset

Pricing

Pay per usage

Go to Store
CSV File to Dataset

CSV File to Dataset

Developed by

Lukáš Křivka

Maintained by Community

Upload a local or remote CSV/text file and convert it to Apify Dataset for further use.

0.0 (0)

Pricing

Pay per usage

5

Monthly users

9

Runs succeeded

99%

Last modified

7 months ago

You can access the CSV File to Dataset programmatically from your own applications by using the Apify API. You can also choose the language preference from below. To use the Apify API, you’ll need an Apify account and your API token, found in Integrations settings in Apify Console.

1# Start Server-Sent Events (SSE) session and keep it running
2curl "https://actors-mcp-server.apify.actor/sse?token=<YOUR_API_TOKEN>&actors=lukaskrivka/csv-file-to-dataset"
3
4# Session id example output:
5# event: endpoint
6# data: /message?sessionId=9d820491-38d4-4c7d-bb6a-3b7dc542f1fa

Using CSV File to Dataset via Model Context Protocol (MCP) server

MCP server lets you use CSV File to Dataset within your AI workflows. Send API requests to trigger actions and receive real-time results. Take the received sessionId and use it to communicate with the MCP server. The message starts the CSV File to Dataset Actor with the provided input.

1curl -X POST "https://actors-mcp-server.apify.actor/message?token=<YOUR_API_TOKEN>&session_id=<SESSION_ID>" -H "Content-Type: application/json" -d '{
2  "jsonrpc": "2.0",
3  "id": 1,
4  "method": "tools/call",
5  "params": {
6    "arguments": {},
7    "name": "lukaskrivka/csv-file-to-dataset"
8  }
9}'

The response should be: Accepted. You should received response via SSE (JSON) as:

1event: message
2data: {
3  "result": {
4    "content": [
5      {
6        "type": "text",
7        "text": "ACTOR_RESPONSE"
8      }
9    ]
10  }
11}

Configure local MCP Server via standard input/output for CSV File to Dataset

You can connect to the MCP Server using clients like ClaudeDesktop and LibreChat or build your own. The server can run both locally and remotely, giving you full flexibility. Set up the server in the client configuration as follows:

1{
2  "mcpServers": {
3    "actors-mcp-server": {
4      "command": "npx",
5      "args": [
6        "-y",
7        "@apify/actors-mcp-server",
8        "--actors",
9        "lukaskrivka/csv-file-to-dataset"
10      ],
11      "env": {
12        "APIFY_TOKEN": "<YOUR_API_TOKEN>"
13      }
14    }
15  }
16}

You can further access the MCP client through the Tester MCP Client, a chat user interface to interact with the server.

To get started, check out the documentation and example clients. If you are interested in learning more about our MCP server, check out our blog post.

Pricing

Pricing model

Pay per usage

This Actor is paid per platform usage. The Actor is free to use, and you only pay for the Apify platform usage.